
Why You Should Be Filming in LOG (and Not Standard Profiles)
In this blog post, we’ll explore the benefits of filming in LOG over Standard (or Normal) picture profiles on mirrorless cameras. While our examples use Sony’s S-Log3, the same principles apply to other LOG profiles such as Canon C-Log, Fujifilm F-Log, Nikon N-Log, Panasonic V-Log, and others.
What Is LOG?
LOG is a gamma encoding method designed to preserve the maximum dynamic range from your camera’s sensor. The image straight out of the camera usually looks flat and washed out. This extra data gives you far more flexibility in post-production, allowing you to shape your footage without the limitations baked-in camera processing creates.

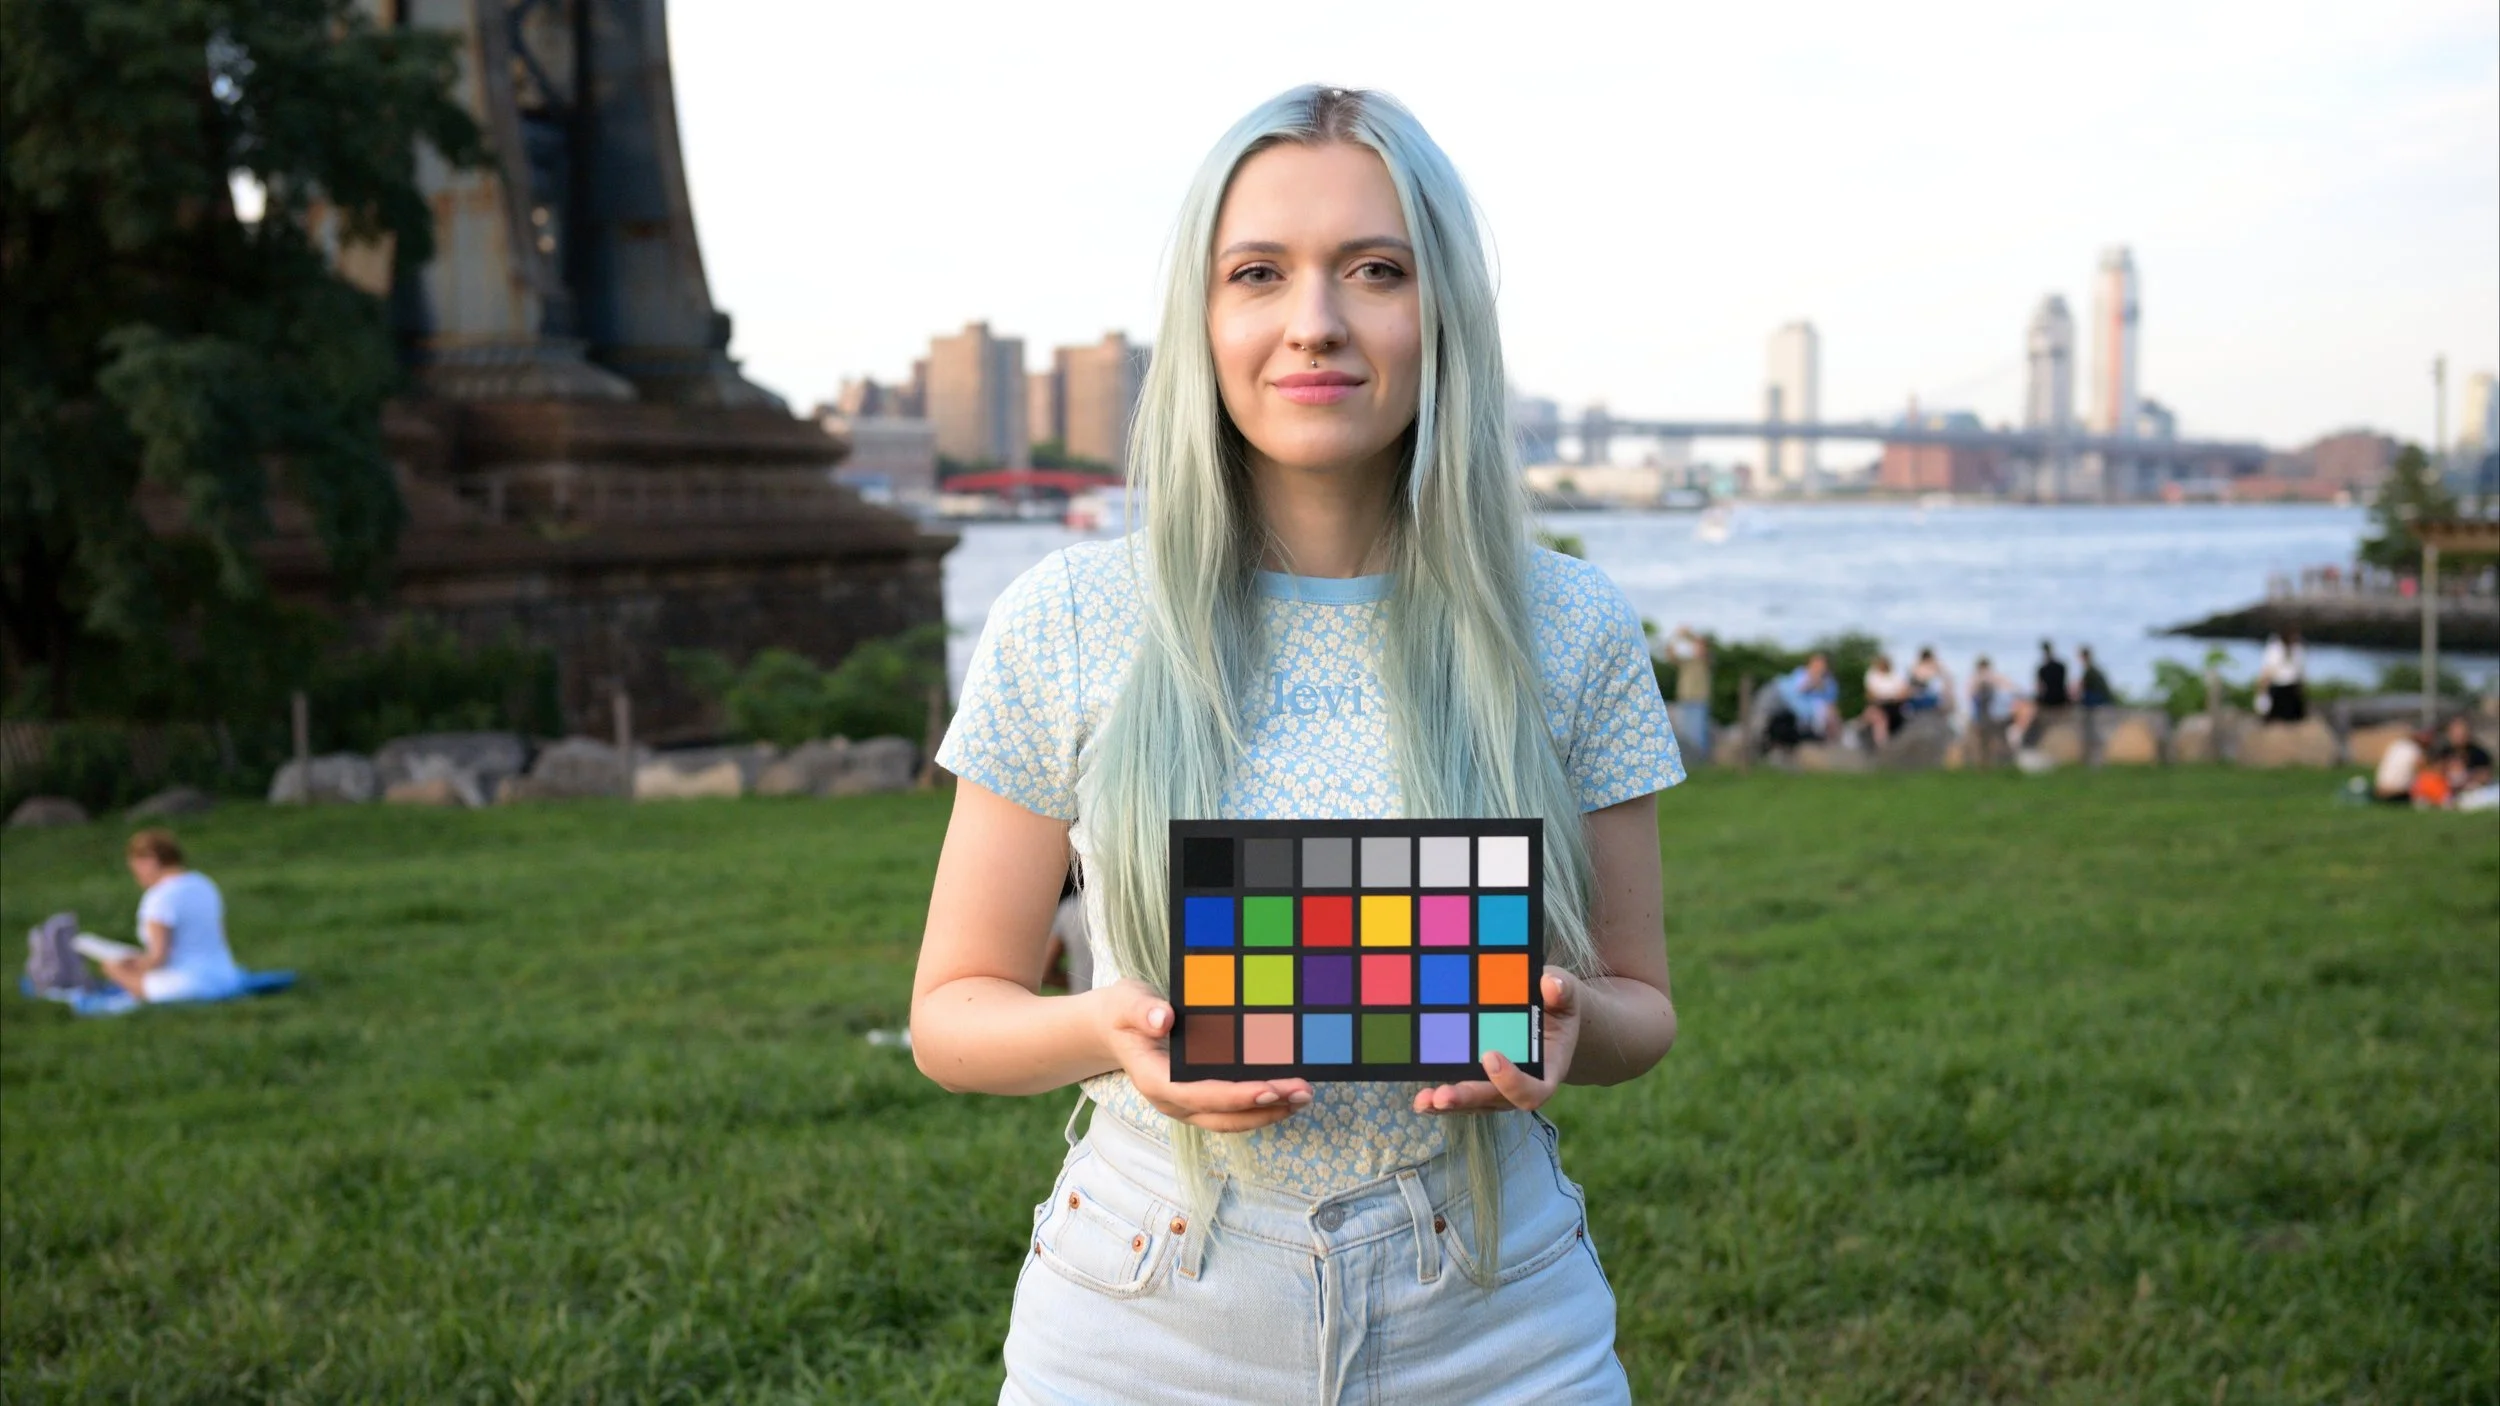
Sony FX3 S-Log3/S-Gamut3.cine footage
Why Film in LOG?
Unlike Standard profiles, LOG applies minimal in-camera processing. This means you retain more detail in shadows and highlights, achieve a more natural and organic look, and have much greater creative control during color grading. It is an essential part of professional workflows.
What's Wrong with Standard Profiles?
Standard (or Normal) profiles may look punchier straight out of the camera, but that comes at a cost. They prioritize mid-tone contrast, which can make highlight and shadow transitions harsh. They also apply sharpening and noise reduction, introducing artificial textures that are locked into your footage. Since they aren’t designed with post-production in mind, they limit your options later and often reduce color separation.
Some cameras feature hybrid profiles, like Nikon’s Flat or Sony’s S-Cinetone, which have better dynamic range than the Normal profiles and have less processing. But in reality, the images shot with those profiles require additional tweaking, which makes them less practical.

Common Objection: Filming in LOG Takes More Time
One of the most common arguments against LOG is that it slows down your workflow.
Indeed, LOG footage doesn’t look finished right out of the camera, but adding a LUT in post is a one-click process. There might be cases when you need to deliver “finished” files to a client without touching the NLE. For those situations, consider baking a LUT during recording — it often yields a better result than standard profiles.
Objection #2: LOG Requires High ISO
Another misconception is that LOG forces you into using high ISOs. While many LOG profiles have a base ISO around 800, that doesn’t mean you can’t shoot lower. Most modern cameras allow ISOs as low as 160 or 200 when filming in LOG.
Take a look at the dynamic range chart for Arri Alexa cameras, but the same principle applies to all digital sensors.
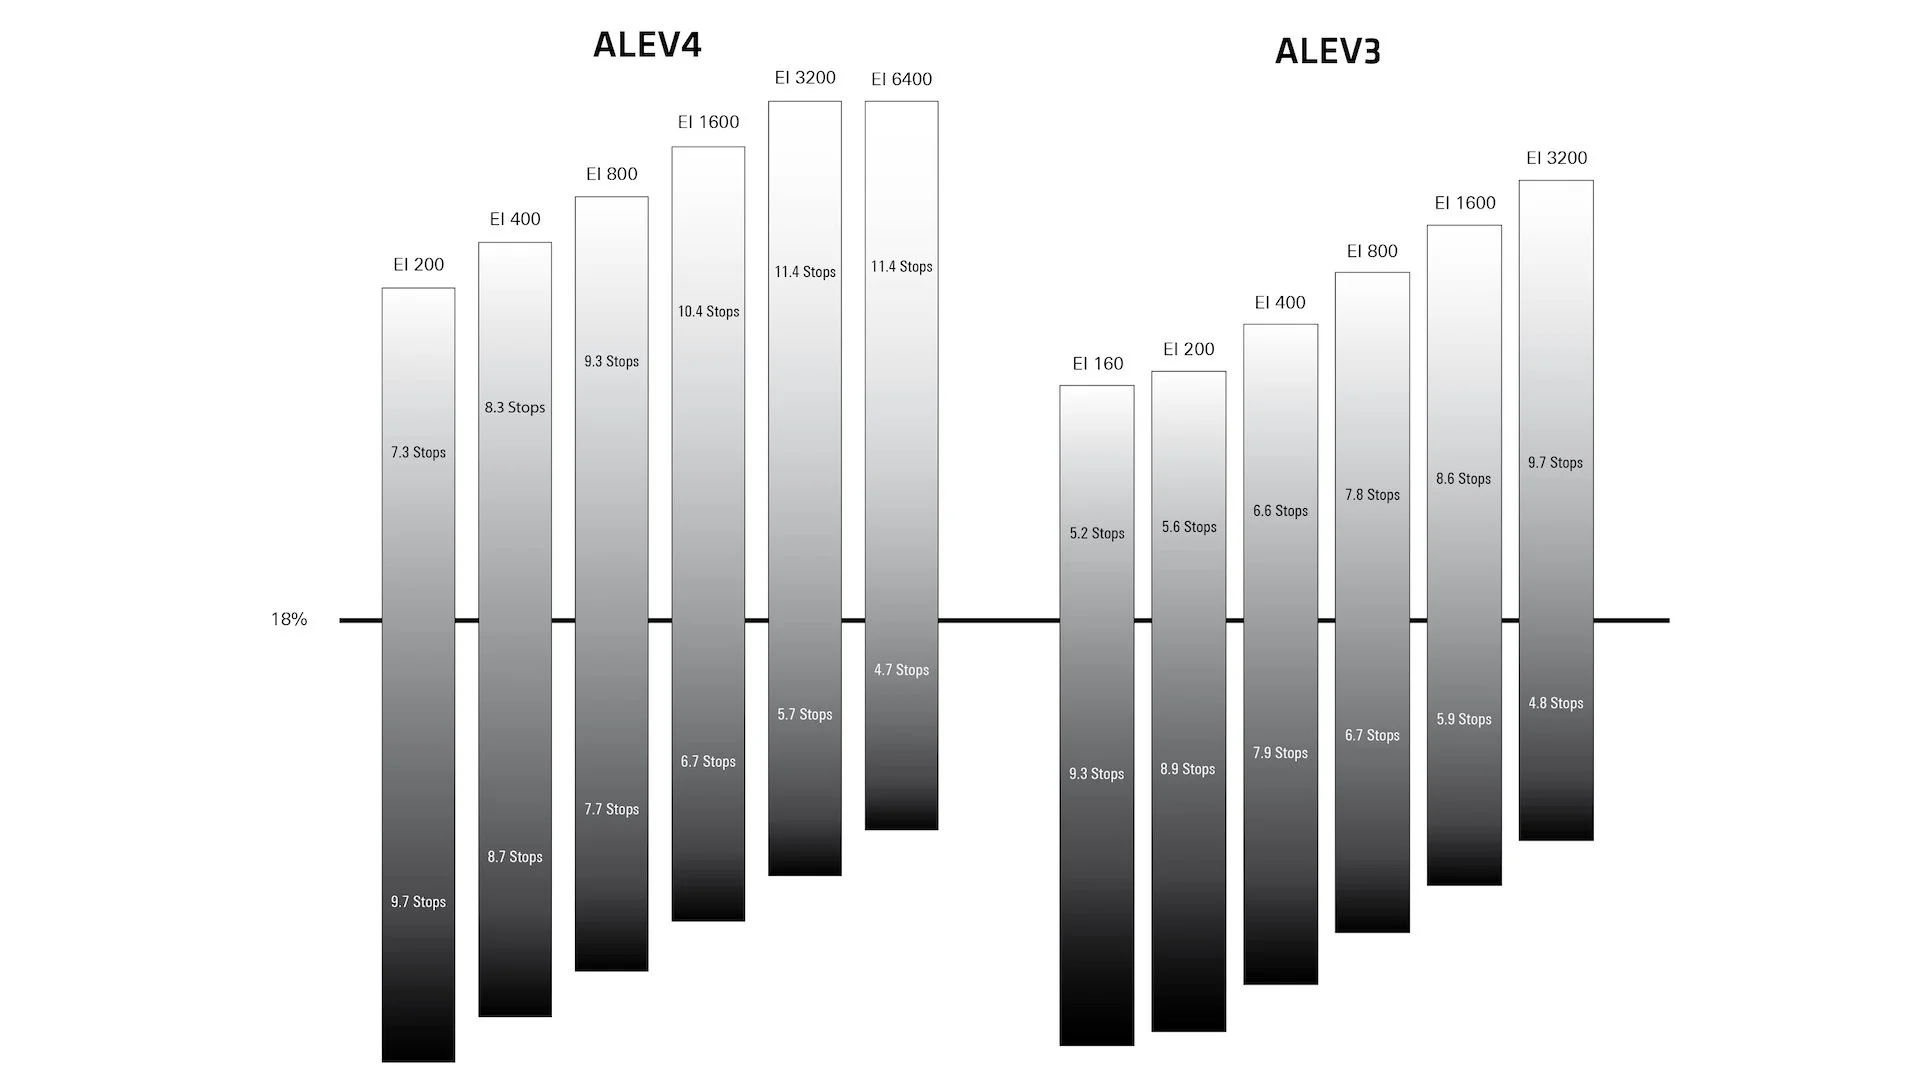
Arri LOG C Dynamic Range Chart (Source: https://www.arri.com)
Depending on the ISO value, the camera will capture a specific range of stops above and below the middle grey. As an example:
Shooting at ISO 800 increases highlight retention but reduces shadow detail
Shooting at ISO 160 gives you more shadow detail but less highlight range
It may sound counterintuitive, but increasing the ISO increases the sensor sensitivity to light.
Here’s an example of the same footage captured on the Sony ZV-E1 in S-Log3 using ISO 160 and the base setting of 640. Notice the difference between the highlight clipping and shadow noise.


There are plenty of situations when you don’t have a lot of highlights in the scene, or protecting the upper regions of the image doesn’t make a significant difference in image quality, so it’s perfectly fine to use ISOs below the base. Exposure is not purely technical; it’s also a creative decision.
Objection #3: LOG Is Noisy
LOG often gets blamed for noisy images, but there are clear reasons for this perception. First, it’s usually shot at a higher base ISO. Second, LOG reveals more shadow detail that Standard profiles would simply crush into black.
Fortunately, you can manage noise effectively. Slightly overexposing your image (also known as ETTR — expose to the right) by 1–2 stops helps protect highlights while reducing shadow noise. When possible, use lower ISOs, and only resort to noise reduction in post if necessary. With correct exposure, noise in LOG is often minimal.
Cinema Tools LUT PacksProcessing LOG Footage
To make LOG footage look “normal,” you need to convert it into Rec. 709. This is usually done with a LUT that maps the LOG gamma and color space into the standard viewing range. You can use manufacturer LUTs or download our free base LUTs that cover nearly every modern LOG format.
A typical workflow is straightforward:
Import your footage into your NLE (such as DaVinci Resolve).
Apply the base LUT for your camera’s LOG profile.
If the footage looks too bright due to overexposure for noise control, use a version of the LUT designed for -1 stop exposure.
Some LUTs feature gentle roll-offs in the highlights and shadows, which can leave footage looking slightly flat. If your blacks and whites don’t reach full 0–100% IRE, simply push Gain/Highlight and pull Lift/Shadow after the LUT. This restores natural contrast without damaging midtones.
From there, your image will look natural with proper contrast and color. You can either export it directly or begin your creative grade. You can see our workflow in the video below:
Final Thoughts
Filming in LOG provides maximum flexibility, superior image quality, and a true professional foundation for color correction. While it may introduce an additional step compared to Standard profiles, today’s editing tools make the process efficient and straightforward. Once you experience the extended dynamic range, cleaner color separation, and grading potential that LOG offers, it becomes clear why it is the industry standard.